Microcement over old tiles: renovating an occupied apartment without demolition
Removing tiles is the most disruptive stage of a renovation. The noise carries through the whole building, dust settles on everything and the rubble has to be carried down the stairs. Microcement lets you skip that stage, because the thin coating can go directly onto stable tiles. The word "stable" is key here, though. In this article we explain how to check it, what the preparation involves and when we honestly advise against this route.
Published · 4 min read
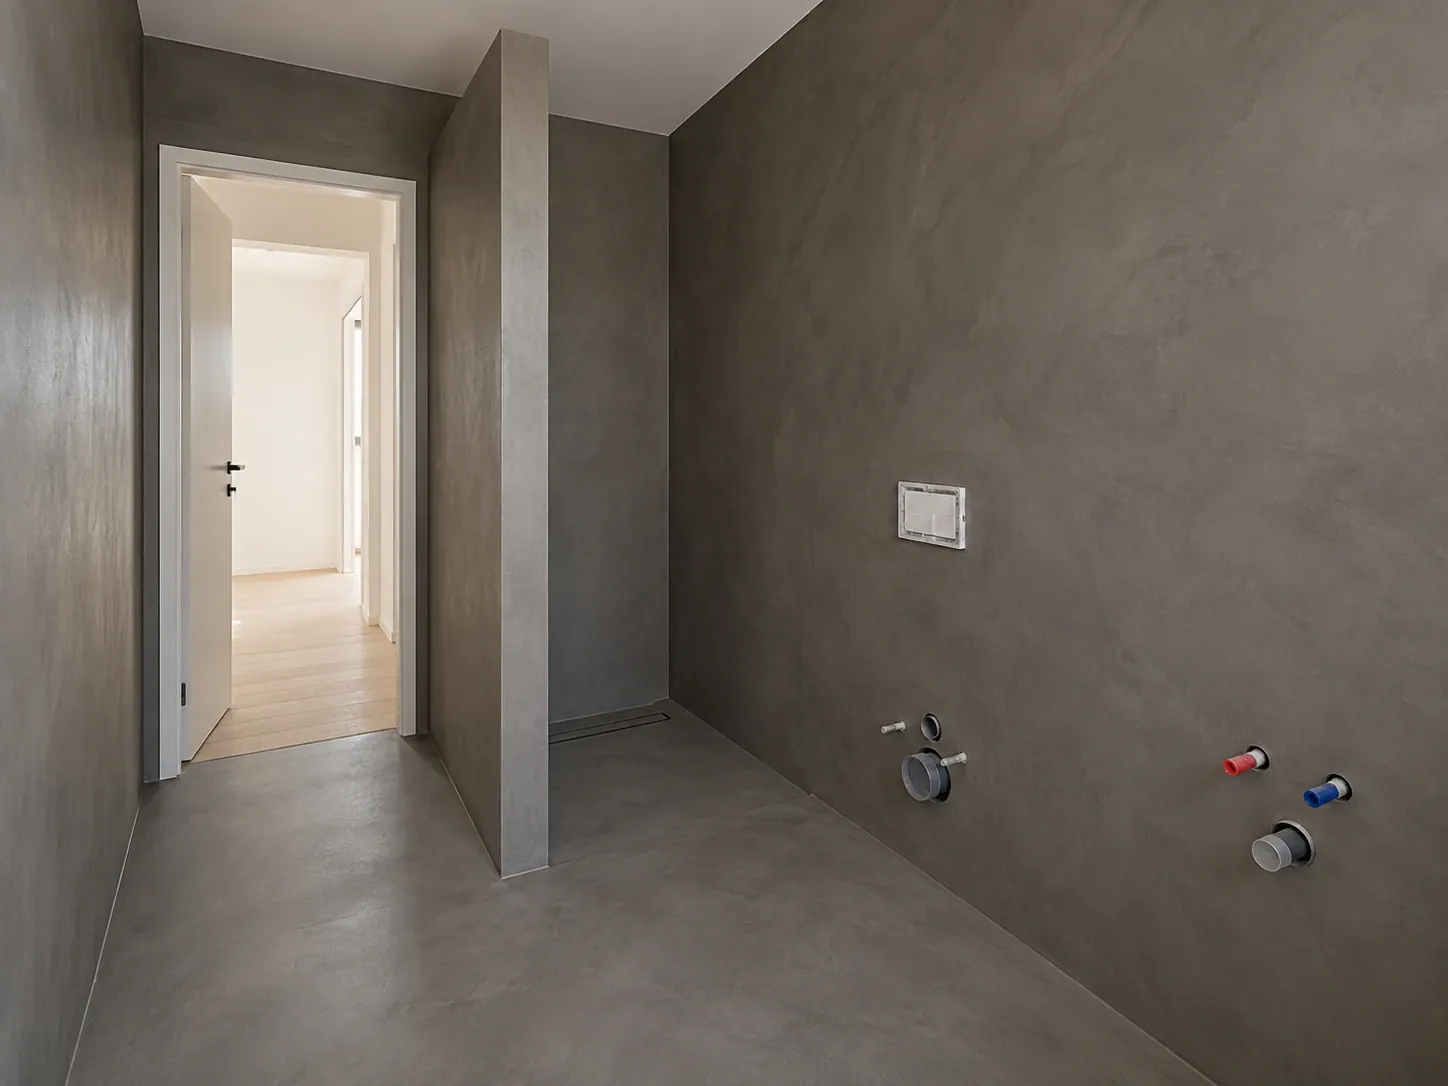
When microcement over tiles makes sense
There is one condition, and it is absolute: the tiles must be well bonded to the substrate. If one sounds hollow when tapped, moves, or has a crack running across several neighbouring tiles, something underneath is moving. Microcement is thin and will not hide substrate movement. Sooner or later the crack will appear in the same place on the new surface.
At the survey we tap the whole surface and check the joints and the areas along the walls. Single loose tiles can be removed and the gap filled. If the problem affects a large part of the floor, we say plainly that it is better to remove it.
Height, doors and thresholds
Microcement adds a few millimetres, including the preparation layers. In most apartments this means doors open as before and the step to the floorboards in the next room is small. It is still worth checking the clearance under the door leaves and how the transition to adjacent rooms will look. Sometimes the best solution is to run microcement through the whole circulation route, from hallway to kitchen, with no threshold at all.
How the tiles are prepared
Tiles are smooth and often covered with a film of grease and cleaning products. To give the new layer something to grip, we go through several stages.
- Thorough washing and degreasing of the whole surface.
- Keying the glaze to improve adhesion.
- Filling the joints so their pattern does not show through.
- A bonding primer designed for non-absorbent substrates.
- Reinforcing mesh where the data sheet and the substrate call for it.
Renovating while you live there
This is a major advantage of the method. No demolition means no hammering and no rubble. We grind with an industrial vacuum and protect the room with sheeting. Most dust is produced when keying the tiles and sanding between layers, but these are short stages.
You do need to plan for part of the apartment being out of use for a few days, because the layers need time to dry. We sometimes split the kitchen and hallway into stages so that there is always a way through to the other rooms. We agree the order before starting.
What about wall tiles
Wall tiles in a kitchen or bathroom can also stay under microcement if they are stable. On walls, the problem is more often protruding elements: trims, plastic corner beads and old silicone. We remove them and replace them with a continuous coating. In a bathroom shower area we still waterproof, even if tiles remain underneath.
When we honestly advise against it
In some situations laying microcement over tiles would only hide a problem.
- A large share of the tiles is loose or hollow underneath.
- There is moisture in the wall or floor, for example after a flood or from a leaking pipe.
- The tiles are very thick or uneven and a sensible height cannot be kept.
- The floor flexes underfoot, which happens on old timber floors.
What the following days look like
The schedule depends on the area, but the order is always similar.
- Day one: protecting the apartment, tapping the tiles, removing weak spots, washing and keying.
- Day two: filling the joints, repairs and bonding primer.
- Following days: first layer of microcement, sanding, second layer for texture and colour.
- Final stage: sealer in several coats and a break after which you can walk on it, then move furniture back.
What about the kitchen, furniture and appliances
In kitchens people most often ask whether microcement must go under the cabinets. Not always. If the units stay, we can coat only the visible part of the floor, with a carefully finished junction at the plinths. If the kitchen is being replaced, it is better to lay microcement across the whole floor before the new units are fitted.
Plinths, skirtings and light furniture are removed, or we ask you to remove them before we start. The fridge and dishwasher must be moved out and disconnected during the work. That way the coating runs under the edge of the units and the junction looks as if the floor had always been there.